

Installing electrical outlets safely and efficiently in your home is essential for ensuring both convenience and safety. Whether you’re upgrading an old outlet or adding a new one, following proper installation practices can drastically reduce the risk of electrical mishaps such as short circuits or fire hazards. Outlets are the silent workhorses of our homes, powering everything from our coffee makers to our phones. Done right, they enhance the functionality of every room and help keep your home running smoothly.
Ensuring safety doesn’t mean you have to accept outlets that are drab or unappealing. With the vast array of outlets available today, there’s an option that fits every need and style. From waterproof outlets for the outdoors to USB-equipped ones for charging devices directly, choosing the right outlet enhances the safety and utility of your living space. Let’s explore why it’s important to install electrical outlets correctly and how to choose the best types for your home.
Understanding Electrical Outlets
Electrical outlets are like the bridges connecting our gadgets and appliances to the energy they need. Every home has its array, but did you know there’s more than one type? Understanding these can help you choose the best options for different areas of your home.
1. Standard Outlets: These are the classic two-prong or three-prong outlets found in most homes. They’re great for general use in living rooms and bedrooms, where you don’t need any special features.
2. GFCI Outlets: Ground Fault Circuit Interrupter outlets are a top pick for wet areas like kitchens and bathrooms. They’re designed to protect you from electric shock by shutting off power the moment they detect an imbalance in the current.
3. AFCI Outlets: Arc-Fault Circuit Interrupter outlets are increasingly becoming a must-have in modern homes. These outlets help prevent electrical fires by detecting arcing faults, which are sparks that can cause fires.
4. Smart Outlets: If you’re into smart home technology, smart outlets allow you to control devices via smartphone apps or voice assistants. They’re perfect for those who love remote control capabilities and automation.
Selecting the right outlet is more than just a choice; it’s about matching functionality with safety and style. Consider what each room needs. For instance, outdoor areas will benefit from waterproof and weather-resistant outlets that can withstand the elements. By choosing wisely, your home not only gains in efficiency but becomes safer too.
Tools and Materials Needed
Before diving into any installation, gather the necessary tools and materials to make the process smooth and safe. A well-prepared toolkit sets the stage for success and prevents last-minute runs to the store. Here’s a list to get you started:
– Screwdrivers (flathead and Phillips)
– Wire strippers to handle the electrical wires safely
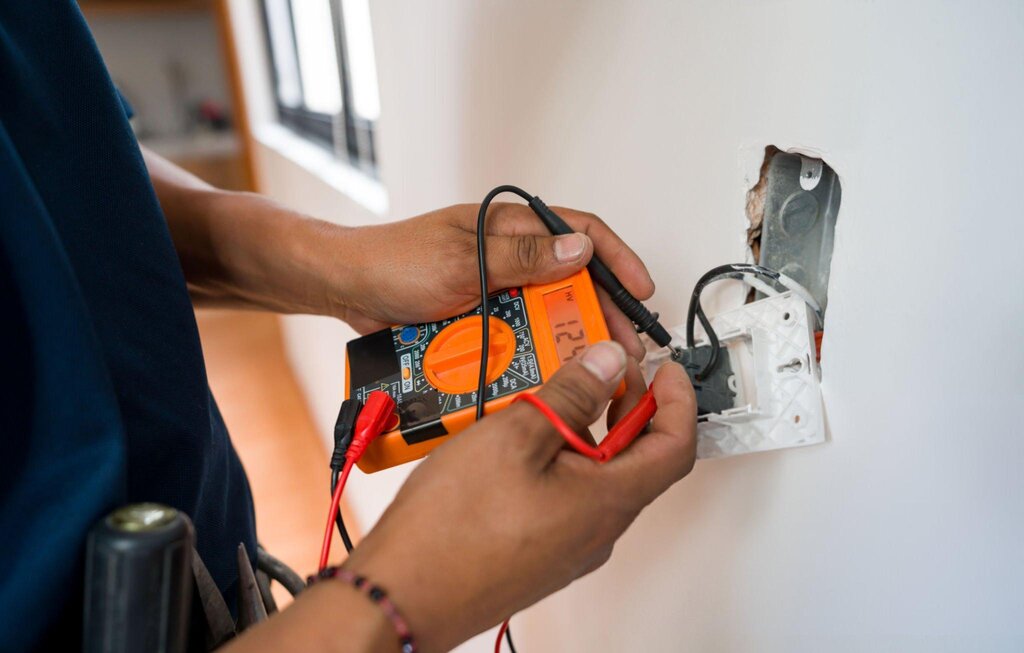
– Voltage tester for confirming that the power is off
– Wire nuts and electrical tape for secure connections
– Outlet box and faceplate to house the outlet neatly
– Safety gear including gloves and goggles to protect yourself
Using the right tools not only makes the job easier but also keeps you and your home safe during the process. Always double-check that you’re prepared before you begin, as this can save both time and headaches down the line.
Step-by-Step Installation Guide
Installing an electrical outlet requires a careful approach to ensure everything functions properly. Follow these steps to get the job done safely:
1. Turn Off the Power: Head to your home’s electrical panel and switch off the correct circuit breaker. Use a voltage tester to ensure the outlet you’re working on is not live.
2. Remove the Old Outlet: If you’re replacing an existing outlet, unscrew the faceplate and outlet from the outlet box. Carefully disconnect the wires.
3. Wire the New Outlet: Use the wire strippers to prepare the wires, ensuring clean connections. Attach the wires to the corresponding terminals on the new outlet—black to brass, white to silver, and green or bare to the ground screw.
4. Secure the Outlet: Place the new outlet into the outlet box, securing it in with screws. Attach the faceplate for a finished look.
5. Test the New Outlet: Turn the power back on and use a voltage tester to ensure your new outlet is working correctly.
Following these steps helps maintain safety and efficiency, reducing the risk of accidents.
Safety Tips and Considerations
While installing electrical outlets, keeping safety at the forefront is paramount. Always use a voltage tester to confirm the absence of current before handling wires. Wearing gloves and goggles will protect you from any unexpected sparks or debris. It’s important to be cautious and never rush through any step.
For those who lack experience or feel uncomfortable handling electrical tasks, hiring a professional is highly recommended. Complex installations or issues beyond basic swaps warrant expert intervention to ensure everything is up to code and free from hazards.
Maintaining a safe environment is not just about following steps, but also about recognizing when expert help is needed. By prioritizing safety, you not only protect your home but also provide peace of mind.
If you are looking for expert assistance to safely upgrade your home’s electrical system, trust ShockFree Electrical. Our experienced team in St. John’s, NL, is dedicated to providing a seamless installation process that prioritizes safety and efficiency. Discover how our expertise can transform your living space by choosing to install electrical outlet with professionals who care about precision and quality.
